After last nights poor pics, i decided to resurrect my old DIY light box. Only it was more destroyed the done.
No problem though, i would just make another. Then i thought hang on, why not share it and maybe help a few hobby fanatics along the way.
So here it is. The not so milky light box.
Step 1. Purchase a large milk container and drink the contents. I prefer to do this with something we Brits call Tea.
Once empty you should have one of these.
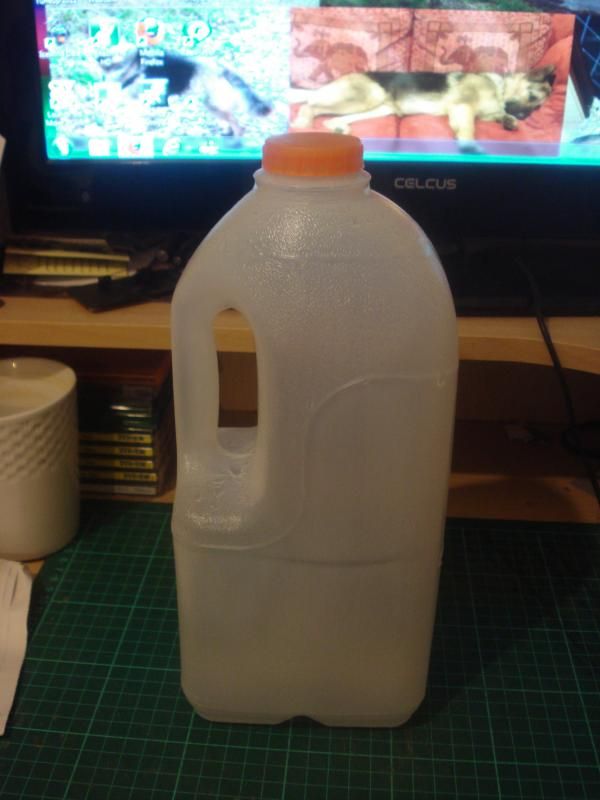
Technical eh...
Brace yourselves it only gets worse.
Step 2, remove the lid, then find a point about half way up (in this case there is a nifty little 'indent' all the way around for me to follow). Make a small hole, then use scissors to cut the carton in half. Like so
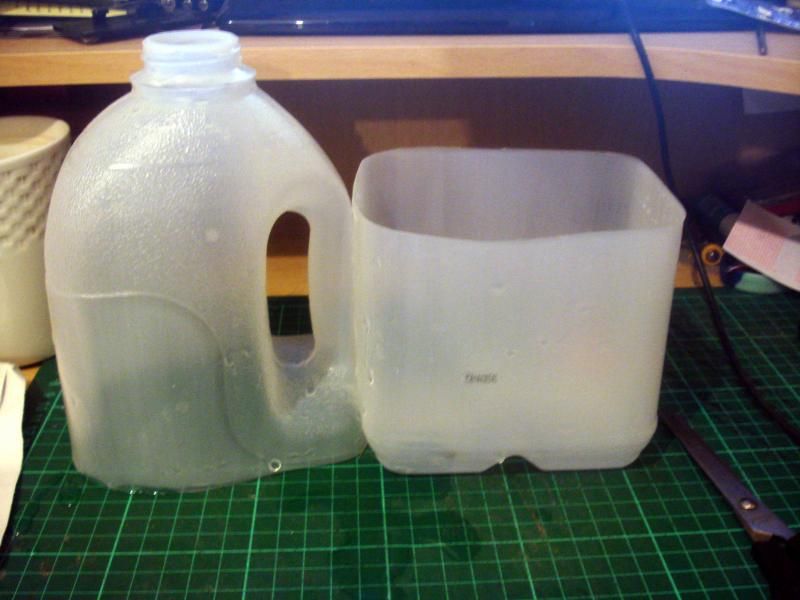
Rocket science this one eh!
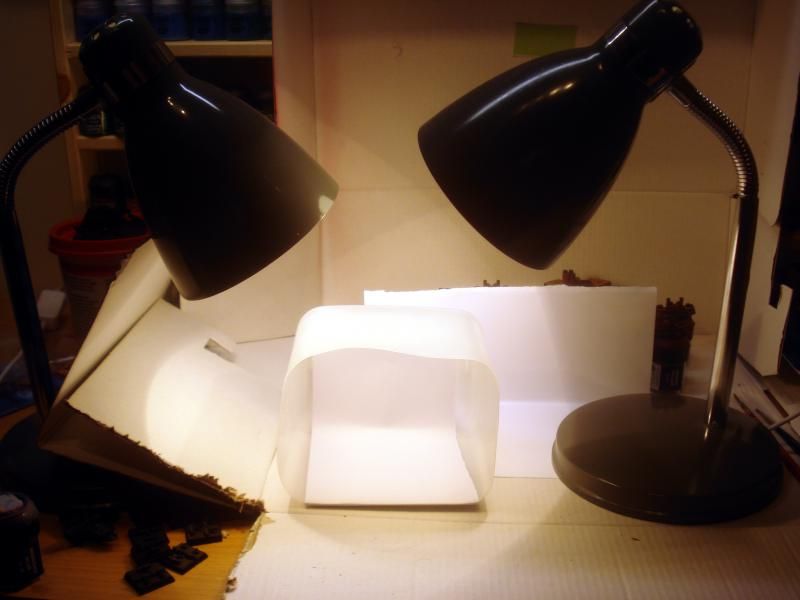
Step 3- line the base and back with some white card, i use blue tack to hold it in place.
Something like this.

Step 4 - Position lights close to the sides of the box, i use 2 angle necked lamps to light up my light box. The plastic acts to diffuse the light and even it out.
Step 5 - enjoy the fruits of your labour. This small box is useful for small miniatures only, maybe a 6 pint carton would work well for slightly larger models. Bigger than that, is still a quest I'm on...though i do have an idea....
Oh btw, unless you want a funny smell and a visit to the dog house courtesy of your parents/other half....i would suggest washing the carton out multiple times before letting the lamps cook it.!!!
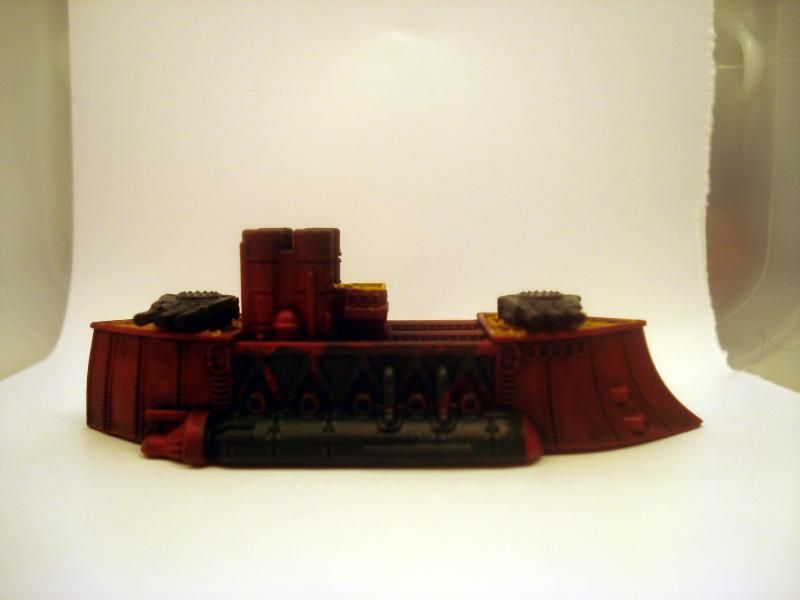
Just for the sake of comparison.
Normal not light box set up pic
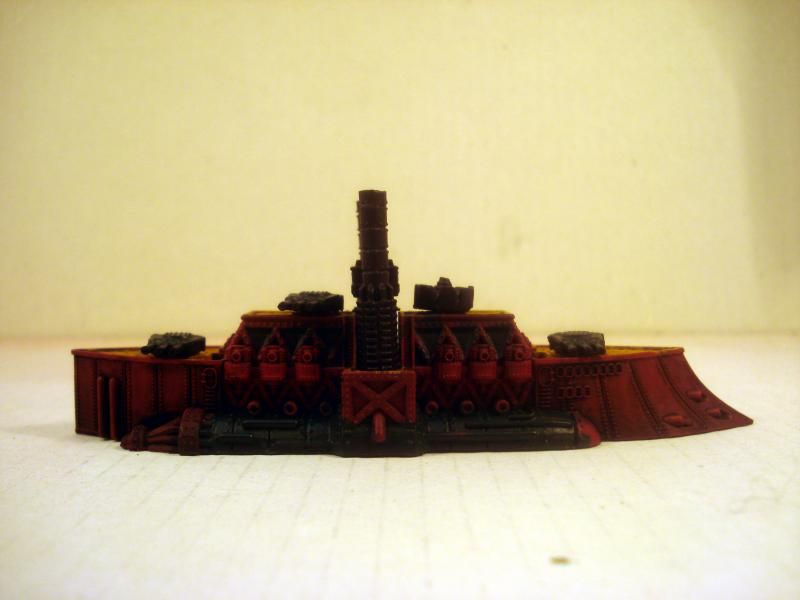
And light box pic
I hope this helps some of you out there.
No comments:
Post a Comment