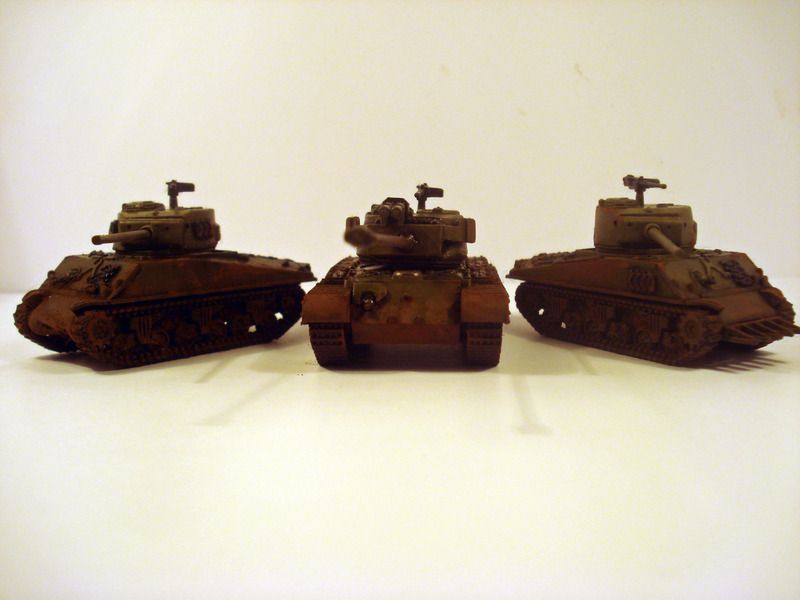
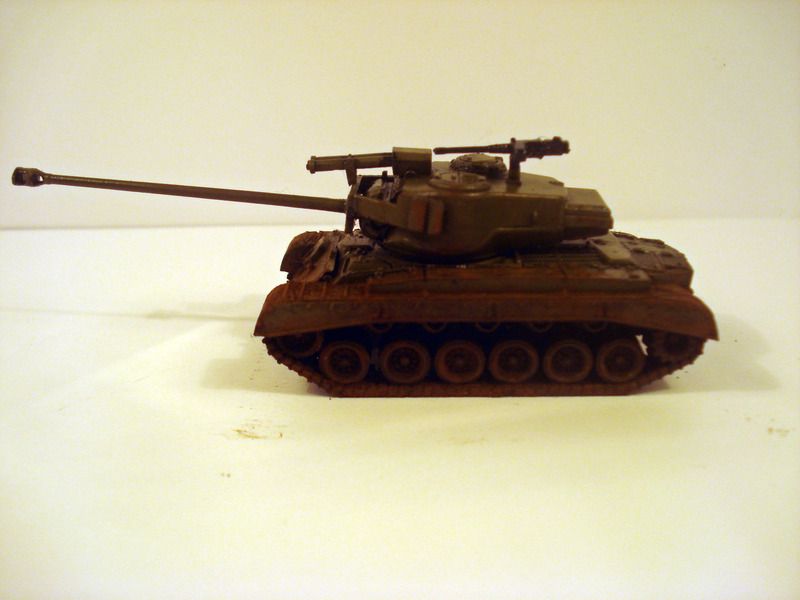
They still need some decals and a final coat of varnish to seal everything up.
But for the moment they are as done as they can be.
Part of today's post is to show a little 'how to' on the weathering technique i use.
I was asked by a member of the Norfolk Wargamers fb group and promised to do the guide to show how easy it really is to do. So here goes.
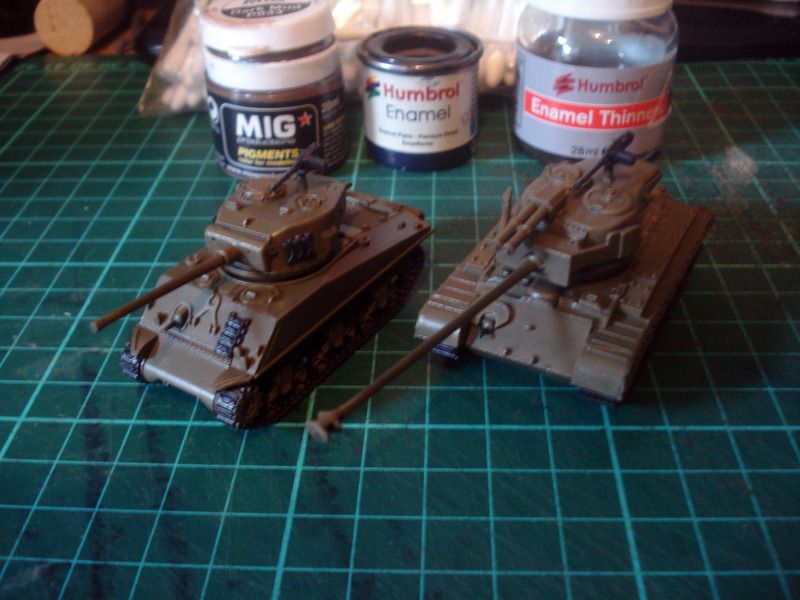
You will need.
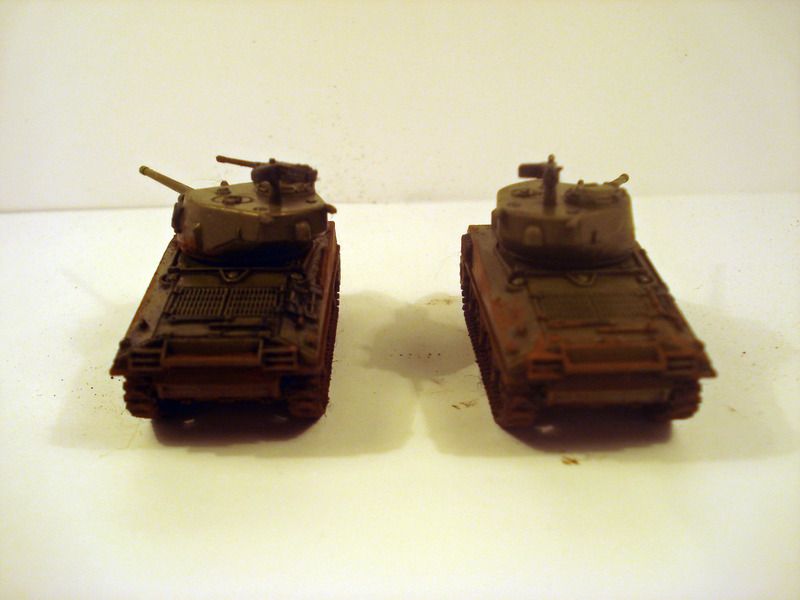
Tanks. Painted to a level you are happy with.
Q-tips/cotton buds.
Enamel paint thinner. I use Humbrol thinner
Black enamel paint. I use humbrol Enamel thinner.
Weathering powder. I use MIG pigments Dark Mud.
2 brushes, i use a cheap large brush and a battered old dry brush.

My intended victims
On a pallet, mix a 50/50 ratio of Black enamel paint and thinners. Mix plenty. Now plaint this all over your tank, get a good solid coat on all over the tank and give about 10 minutes to cure a little.
Something like this.

After about 10 minutes, take a cotton bud, dip one end into neat enamel paint thinner and wipe over any area you don't want the black enamel paint, flip the bud over and use the dry end to gently wipe away the thinned paint. It may take a few passes over each area to get the look you want. But be patient, use fresh cotton buds regularly and eventually you will have something like this.

Next you want to crack open the pot of weathering powder and grab your drybrush. You will need to decide how 'dirty' you want your tanks before applying the powders, though they are fairly easy to remove.
Dab the drybrush into the powders and begin dabbing the loaded brush onto the areas you want to build up mud. the more you put the, thicker the mud. For light mud/dust you can dab a little onto the model and use your finger to smudge it around.
I tend to do the weathering stage whilst the enamel wash is still wet as this will help to fix the powder to the model, but you could wait and use hairspray or a proper fixative.
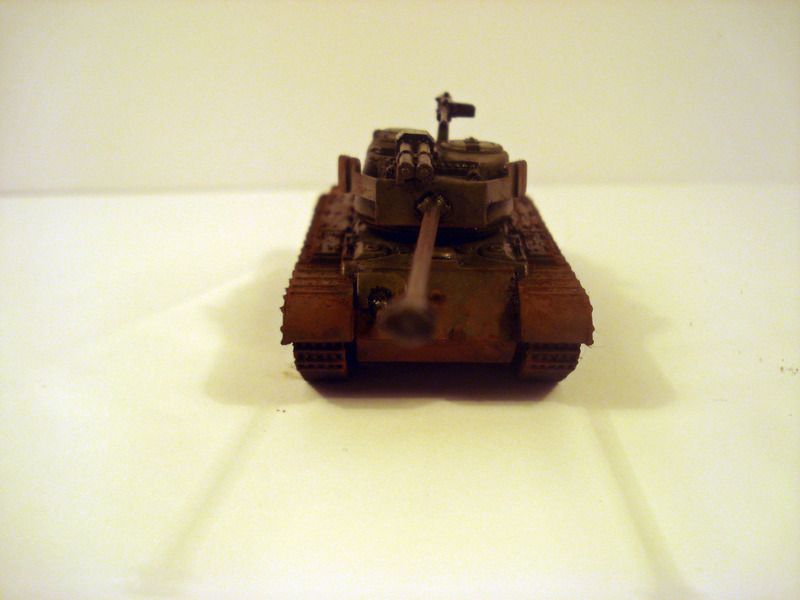
If you want to create streaks of mud, you can use a little water or white spirit to activate the powder pigments and spread them. I didn't on these models as i wanted a dirty 'been through the Normandy mud' look.
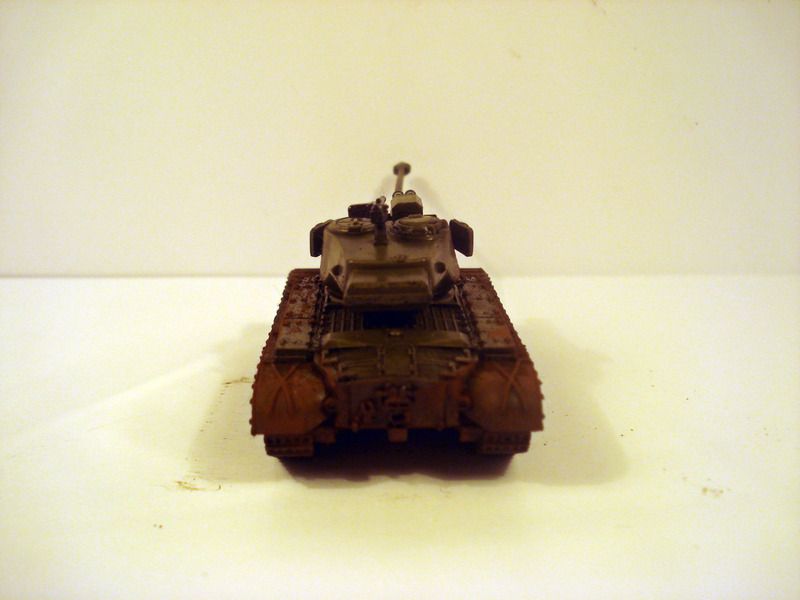
Once you have built up the powder and mud, you should have something like this.
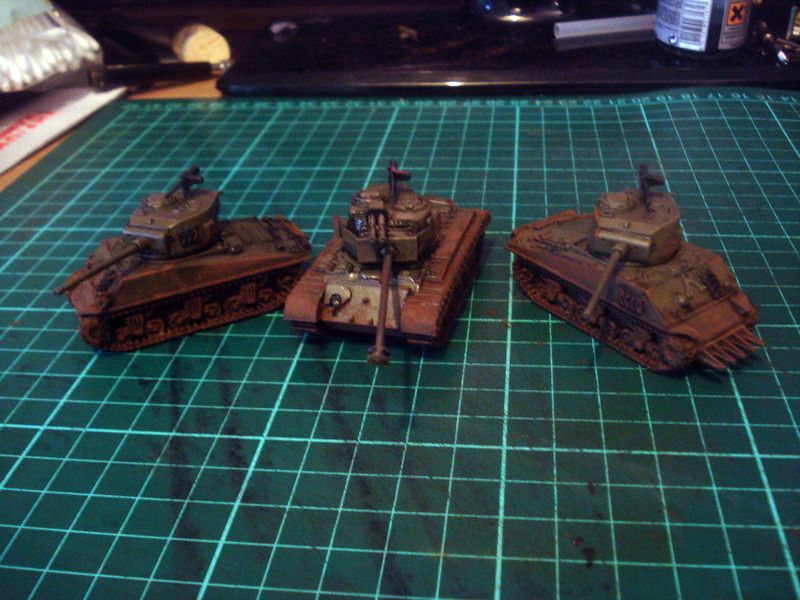
Now all you need to do is leave the models over night and seal them with varnish to fix the powders to the model properly.
If you intend to add decals, the best way would be to add them before the weathering process is started, as it will make life a bit easier.
Alas i didn't have any decals, so my approach will be to add them then weather the decals once they have set.
I hope this helps, I am certainly no guide writer and far from the levels of any pro painters out there. But I am happy enough with the way these tanks turned out.


No comments:
Post a Comment